

The Xbox Series S is not just a gaming console; it’s a gateway to immersive gaming experiences. Whether you’re an avid gamer or a casual player, protecting your console and giving it a unique look is essential. That’s where Xbox Series S Skins from GameVinyl come into play. These custom console skins not only protect your Xbox Series S from scratches and dust but also add a touch of personalization. In this guide, we’ll walk you through the easy process of applying Xbox Series S Skins to your console, ensuring a perfect fit and stunning appearance.
Why Choose Xbox Series S Skins from GameVinyl?
Before we dive into the application process, let’s explore why GameVinyl’s Xbox Series S Skins are a popular choice among gamers.
- High-Quality Materials: GameVinyl uses premium materials to craft their skins, ensuring durability and longevity. The skins are made from high-quality vinyl that offers protection against daily wear and tear.
- Precision Cut: These skins are precision-cut to fit your Xbox Series S perfectly. You don’t have to worry about any wrinkles or uneven edges.
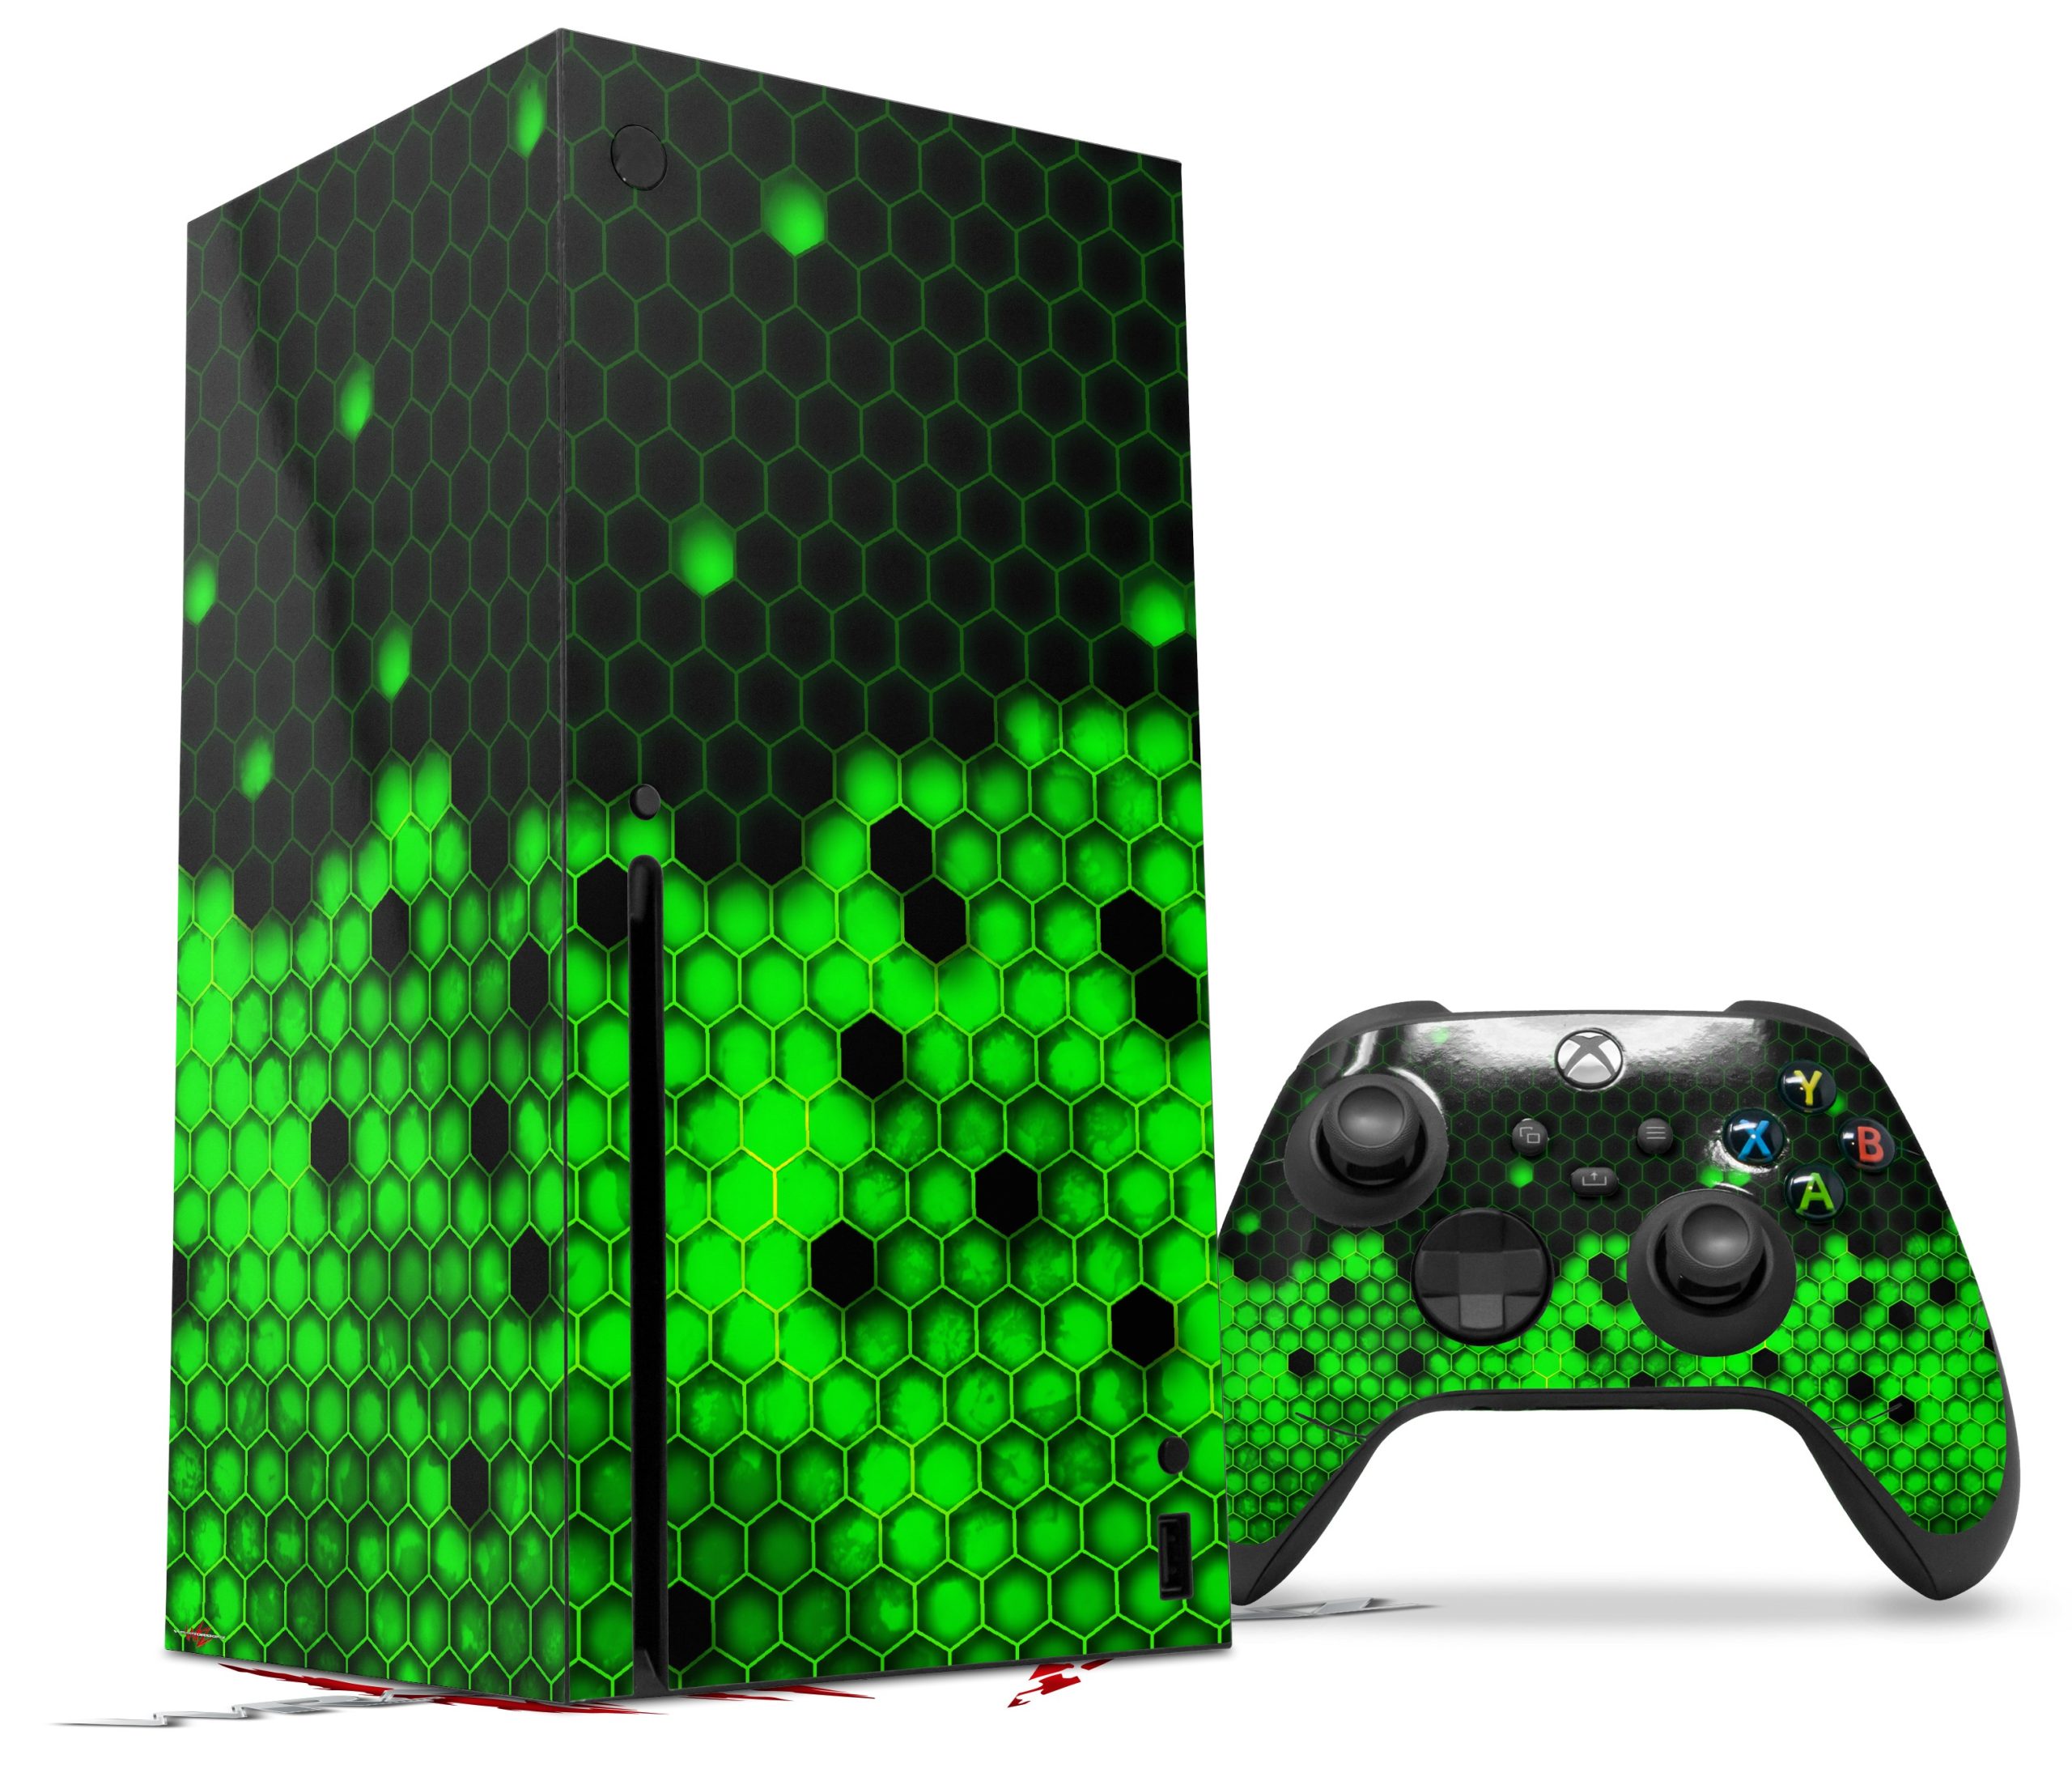
- Vibrant Graphics: GameVinyl offers a wide range of designs and graphics to choose from, allowing you to customize your console to match your style. The colors and graphics are vibrant and won’t fade over time.
- Easy Installation: Applying Xbox Series S Skins from GameVinyl is a breeze. Even if you’re not tech-savvy, you can achieve a professional installation with our step-by-step guide.
Now that you know why GameVinyl’s Xbox Series S Skins are a fantastic choice, let’s move on to the application process.
Step-by-Step Guide to Applying Xbox Series S Skins
Applying Xbox Series S Skins is a straightforward process, and with a little patience and attention to detail, you can achieve a flawless result.
- Gather Your Tools: Before you start, make sure you have a microfiber cloth, a plastic card or squeegee, and a hairdryer or heat gun on hand.
- Clean Your Console: Use the microfiber cloth to thoroughly clean your Xbox Series S. Ensure there are no dust particles or fingerprints on the surface.
- Peel and Stick: Carefully peel the skin from the backing paper, align it with your console, and gently stick it in place. Start with one edge and work your way across the console, ensuring a snug fit.
- Smooth Out Air Bubbles: Use the plastic card or squeegee to smooth out any air bubbles or wrinkles. Start from the center and push outward to the edges.
- Heat and Seal: To ensure the skin adheres properly, use a hairdryer or heat gun to heat the skin. This will make it more pliable and help it conform to the contours of your console. Pay extra attention to the corners and edges.
- Final Touches: Once the skin is securely in place, use the card or squeegee to press down on the edges and corners for a secure seal.
- Enjoy Your Customized Console: Voila! Your Xbox Series S now boasts a stunning GameVinyl skin that protects it and adds a unique style to your gaming setup.
Maintenance Tips for Xbox Series S Skins
To keep your Xbox Series S Skins looking pristine, follow these maintenance tips:
- Regular Cleaning: Wipe the skin with a microfiber cloth to remove dust and smudges.
- Avoid Harsh Chemicals: Do not use harsh cleaning agents on the skin, as they can damage the graphics and adhesive.
- Handle with Care: Be gentle when plugging in cables or connecting accessories to prevent peeling or lifting of the skin.
In conclusion, Xbox Series S Skins from GameVinyl are a fantastic way to protect and personalize your console. With the easy application process outlined in this guide, you can enjoy a stylish and protected gaming experience. Elevate your gaming setup with GameVinyl’s Xbox Series S Skins today!